Celebrating: 2 year anniversary!

Hey guys!

Two years have passed ever since I’ve opened my Etsy shop – so here’s another update on my life and crafts.

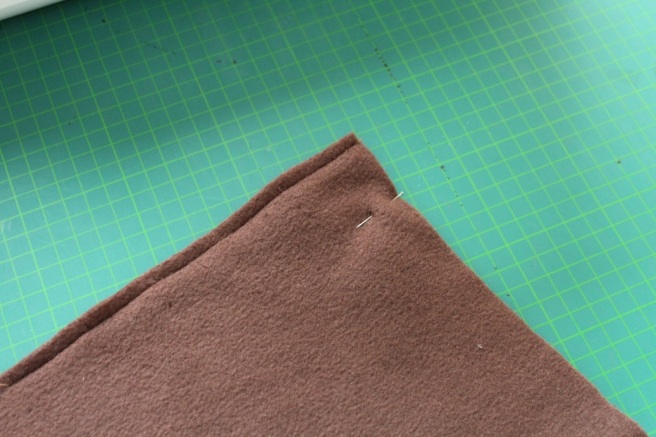
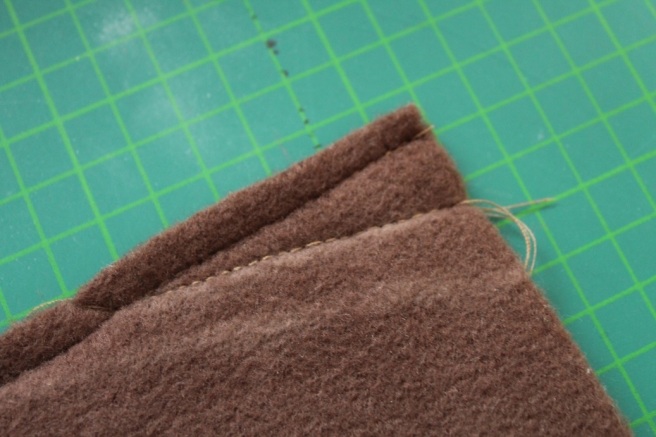
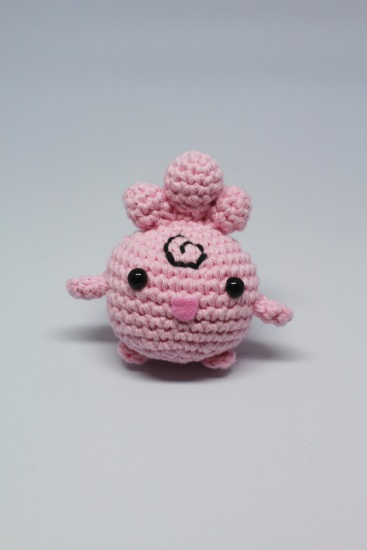
I actually stopped selling my most popular articles after November. I had so many orders, that all I did was sewing. It became so tiring, that I just couldn’t put all of my heart into it any longer. So I made a conclusion and stepped away from my hobby for a bit. It wasn’t until my boyfriend and I split up in february, that I decided not to sew the majority of my stuff with fleece anymore. I feel like my skills and designs have advanced, so I wanted to use a better fabric – minky. Having stepped away from my hobby for quite a long time now I never ordered any. At the moment I have big plans for a reopening of my Etsy Shop though. I want to sell all kinds of cute stuff that will spread joy in the world. My most favorited kind of article? Plush toy accessoires like a hat for your plush alpaca 😉 So there’s a lot to look forward to.

Concerning my personal life, I’ve been single since February. In effect my living situation changed and I had less space at first. I’ve had a new roommate for a few months and then moved. Now I live in an awesome shared flat I absolutely adore. I will probably make another post about my current room too.
As a person, I probably changed too. I dare say that the relationship I was in was an unhealthy one, and freeing myself from it has allowed me to live a much more colourfull life.

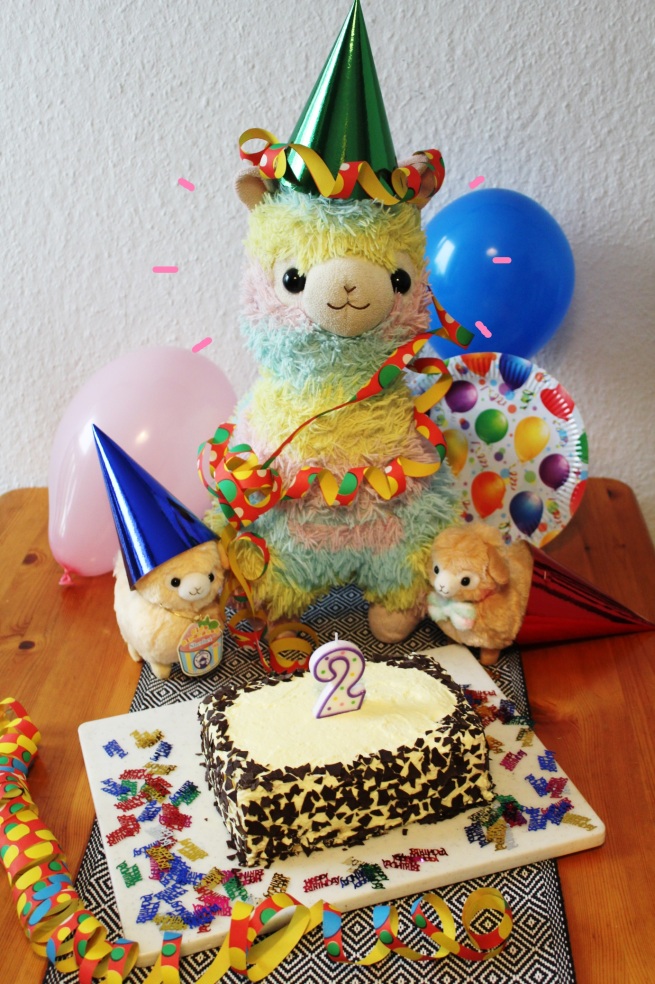
Just as colourfull is Panko – my fluffy little companion 😉 It was his second birthday yesterday and we celebrated with another delicious cake!

Onwards to a new and better year!

Best regards,
Hannah

Panko_Bday_2

Raziel Scarf Tutorial

Hy guys!

Due to me evolving as a person as well as a hobby-tailor, I stopped working with fleece. I also stopped selling my popular Raziel Scarf. If you are too late to buy one, here is your chance to make one yourself!

What you’ll need

brown + beige fabric
brown + beige thread
some big paper, pencil and set square
flexible measuring tape

Fabric

I recommend you use high quality antipilling polar fleece. High quality fleece is still pretty cheap, it’s warm and cuddly and it’s easy to work with.

Pattern pieces

The pattern is made from two pieces: one for the actual scarf, the other one for the symbol. For the symbol I really just used the one from the Videogames and resize it as needed. I found this one pretty nice to work with.
Talking about the scarf pattern, this is where you’ll have to start to work a little. At first you should take the neccessary measurements. Those are the head circumference (a) and the shoulder circumference (b).

If you have these taken, you can divide both by 4 and use these when doing the pattern.finalfinal332

Once you have that done, you’ll want to transfer the pattern to the fabric. Just follow these instructions

finalfinal32

Now transfer the symbol pattern on the beige fabric and cut 2 mirrored versions. Do not add seam allowance.
After that you’ll have to place the symbols on the brown fabric and pin them down. Then just sew along the edges. Once that’s down there’s only one seam left, and that’s the one we just drew seam allowance and the fabric for. Once that’s sewn, turn your scarf inside out and smile, because you’re done! =)

If you still got questions I’m always happy to answer them!

Best regards,
Hannah

Pumpkaboo Amigurumi Pattern

As promised, here is the pattern to my Pumpkaboo Amigurumi. If you want to support me you can also buy the pattern on Etsy 🙂


Body

Rnd 1: ch 4, ch 1 (4)

Rnd 2: Now go 4 sc and then do two ch and flip it by 180° so you can crochet into the holes of Row 1 again. Then do 4 sc again. This way we made a kind of “fat” circle that we’re treating like a magic ring 8. (8)

Rnd 3: inc * 8 (16)img_1481

Rnd 4: (sc, inc) * 8 (24)

Rnd 5: (sc, inc, sc) * 8 (32)

Rnd 6: (7 sc, inc) * 4 (36)

Rnd 7-11: Work even for 5 rounds (36)

Rnd 12: (4 sc, dec) * 6 (30)

Rnd 13: (2 sc, dec, 6 sc) * 3 (27)

Rnd 14: Work even (27)

Rnd 15: Change yarn to brown. Work even (27)

Rnd 16: (sc, dec) * 9 (18)

Rnd 17: (3 sc, dec, sc) * 3 (15)

Rnd 18: (sc, dec, 2 sc) * 3 (12)

Rnd 17: (dec, 2 sc) * 3 (9)

Rnd 17: (sc, dec) * 3 (6)

Pull through and leave string for sewing


Main Spikes

Make 4.

Rnd 1: Magic Circle 3 (3)

Rnd 2: inc * 3 (6)

Rnd 3: (sc, inc) * 3 (9)

Rnd 4: (inc, inc, sc) * 6 (12)

Rnd 5 – 7: Work even for 3 rounds (12)

Pull through and leave string for sewing


Side Spikes

Make 6.

Rnd 1: Magic circle 3 (3)

Rnd 2: inc * 3 (6)

Rnd 3: Work even for 2 rounds (6)

Pull through and leave string for sewing


Ears

Rnd 1: Magic circle 3 (3)

Rnd 2: inc * 3 (6)

Pull through and leave string for sewing


Swirl

Rnd 1: Magic circle 3 (3)

Rnd 2: inc * 3 (6)

Rnd 3-9: Work even for 7 rounds (6)

Rnd 10: (dec, sc, sc) * 2 (4)

Pull through and leave string for sewing


Circles

Rnd 1: Magic circle 4 (4)

Rnd 2: inc * 4 (8)

Pull through and leave string for sewing


Pin all the loose parts to the body and then sew them on.


Please be so kind as to not sell the Amigurumis you are making with this pattern. You are free to gift them to other people of course.

Also, please give me credit when you’re uploading pictures of your Pumpkaboo 🙂


Have fun creating your very own Pumpkaboo!

Best regards,
Hannah

Celebrating: 1 year anniversary!

Today one year ago I opened my Etsy shop – LuckyPacaDesigns. And with it I became part of a world that I didn’t know back then. It’s a wonderful world and I absolutely love it. My laziness, though still there, has vanished a lot. I am so much more productive than I have ever been and I am so much more happy. I am looking back on 80 sales which are by far more than I ever expected.
All the joy that crafting and selling my crafts have given my is undescribable. The creative part of my brain has been so active and although some of the things I tried out didn’t work, most of them did.

Of course now, that a new year has begun I got new goals that I will aim for:
I want to improve my social media, I want to do a lot more crochet patterns for you guys to have for free and I want more and more geeky products to be added to my shop =)

Also, yesterday was Pankos birthday, so there were two reasons to celebrate!

Onwards to a new awesome year!

Best regards,
Hannah

PS: Cake’s not a lie. Was delicious!

HappyBirthday_upload

Tightening the Raziel Scarf – An at-home Tutorial

Hy there,

in case the Raziel Scarf is (or gets) too loose, here’s a tutorial on how to fix it =)

Step #1:

Turn your scarf inside out and search for the brown seam. it should look like this:

IMG_0446

Step #2: 

Take on the inversed scarf, pull the fabric where the seam is ought to be and hold onto it when taking it off. This is where the new seam should be, so that the scarf is properly tight =) Put a needle there so you can let go. If you don’t have a needle or something like that you can always make a mark with chalk or with a pencil. This should be your result:

IMG_0455

Step #3:

Now you need to draw a line between the point where your needle is and the seam that is already there. Pencil and chalk are likewise fine. It should create a somewhat slim triangle. Now you need to estimate yourself where the line should end. Just make sure you don’t have any hard edges, it should look a little like your new line is part of the old seam. Depending on where you put your needle it can look different, here’s two examples on how it may look:

Step #4:

Sew along the line you just drew. Make sure your seam is good, maybe sew two times just in case. Here’s how your result should look like:

IMG_0466

Step #5:

You’re almost done ^-^ You can leave it as it is, but if you don’t like the leftover fabric, you can just cut it off. Just make sure you have a circa 0,5cm (0.2″) allowance so that your seam and the fabric won’t unravel. Here’s two more pictures:

Don’t worry if your seam is a bit dirty or the cut you made isn’t exactly straight. You’ll see that it doesn’t really matter when you are wearing the scarf =)

Tadaaaa – You’re done! Your scarf should be as good as new ^-^

If something went wrong or is hard to understand don’t hesitate to ask me =)


PS: If you don’t know exactly how to sew a good seam, here’s one of my favorite stitches which is very easy to master =)

Raziel Scarf Measurements

Hy there!

This article is for everyone interested in the Raziel Scarf I sell in my Etsy Shop.

If you want to order one, you can just give the following measurements when placing your order. Measuring tape (the flexible one) will give the best results 🙂

877044-1439968203
I’ll need your body circumference at the red lines (the dark red line is not neccessary, it is helpful to me though so feel free to take that one too). The first red line is meant to be at your nasal bone. This will be the tightest area of the scarf and it will ensure that it can hold itself on your nose. That’s why it’s very important that this measurement is correct.
The second red line ensures that the scarf will cover your shoulders. That’s why it has to be at the largest circumference of your shoulders, otherwise the scarf could get a little tight.

If there is still something unclear you are very welcome to send me a message via Etsy =)

Igglybuff Amigurumi Pattern

As promised, here is the pattern to my Igglybuff Amigurumi. If you want to support me you can also buy the pattern on Etsy 🙂


Frontview

Body

Rnd 1: Magic Circle 6 (6)

Rnd 2: inc * 6 (12)

Rnd 3: (sc, inc) * 6 (18)

Rnd 4: (sc, inc, sc) * 6 (24)

Rnd 5: (3 sc, inc) * 6 (30)

Rnd 6: (2 sc, inc, 2 sc) * 6 (36)

Rnd 7 – 12: Work even for 6 rounds (36)

Rnd 13: (2 sc, dec, 2 sc) * 6 (30)

Rnd 14: (3 sc, dec) * 6 (24)

Rnd 15: (sc, dec, sc) * 6 (18)

Rnd 16: (sc, dec) * 6 (12)

Rnd 17: dec * 6 (6)

Pull through and leave string for sewing


Feet

Do a magic circle 6, then do 1 sc and then 1 slst – this should cause the form to have something like a “tip”. Then pull through and leave string for sewing.


Hands

Rnd 1: Magic ring 3 (3)

Rnd 2: inc, sc, inc (5)

Rnd 3: Work even (5)

Pull through and leave string for sewing


Big Head Bubble

Rnd 1: Magic circle 4 (4)

Rnd 2: inc * 4 (8)

Rnd 3: (sc, inc) * 4 (12)

Rnd 4 + 5: Work even for 2 rounds (12)

Rnd 6: (sc, dec) * 4 (8)

Rnd 7: dec * 4 (4)

Pull through and leave string for sewing


Small Head Bubbles

Rnd 1: Magic circle 3 (3)

Rnd 2: inc * 3 (6)

Rnd 3: (sc, inc) * 3 (9)

Rnd 4: Work even (9)

Rnd 5: (sc, dec) * 3 (6)

Pull through and leave string for sewing


Pin all the loose parts to the body and then sew them on.


Please be so kind as to not sell the Amigurumis you are making with this pattern. You are free to gift them to other people of course.

Also, please give me credit when you’re uploading pictures of your Igglybuff 🙂


Have fun creating your very own Igglybuff!

Best regards,
Hannah

Cleffa Amigrumi Pattern

Here’s the pattern to my Cleffa Amigurumi. If you want to support me you can also buy the pattern on Etsy 🙂


Body

Rnd 1: ch 4, ch 1 (4)

Rnd 2: Now go 4 sc and then do two ch and flip it by 180° so you can crochet into the holes of Row 1 again. Then do 4 sc again. This way we made a kind of “fat” circle that we’re treating like a magic ring 8. (8)

Rnd 3: inc * 8 (16)Frontview.jpg

Rnd 4: (sc, inc) * 8 (24)

Rnd 5: (sc, inc, sc) * 8 (32)

Rnd 6: (7 sc, inc) * 4 (36)

Rnd 7: (4 sc, inc, 4 sc) * 4 (40)

Rnd 8 – 11: Work even for 4 rounds (40)

Rnd 12: (4 sc, dec, 4 sc) * 4 (36)

Rnd 13: (7 sc, dec) * 4 (32)

Rnd 14: Work even (32)

Rnd 15: (2 sc, dec) * 8 (24)

Rnd 16: (dec, sc) * 8 (16)

Rnd 17: (dec) * 8 (8)

Pull through and leave string for sewing


Legs

Rnd 1: Magic ring 4 (4)

Rnd 2: inc * 3, sc, inc, sc (8)

Pull through and leave string for sewing


Horns

Rnd 1: Magic ring 3 (3)

Rnd 2: inc * 3 (6)

Rnd 3: (sc, inc) * 3 (9)

Rnd 4: (sc, inc, sc) * 3 (12)

Rnd 5: (3 sc, inc) * 3 (15)

Rnd 6: (2 sc, inc, 2 sc) *3 (18)

Rnd 7: (5 sc, inc) * 3 (21)

Rnd 8: (3 sc, inc, 3 sc) * 3 (24)

Pull through and leave string for sewing


Curl

Rnd 1: Magic circle 4 (4)

Rnd 2: inc * 4 (8)

Rnd 3 – 14: Work even for 12 rounds (8)

Pull through and leave string for sewing


Tail

Rnd 1: Magic circle 4 (4)

Rnd 2: (inc, sc) * 2 (6)

Rnd 3 – 7: Work even for 5 rounds (6)

Pull through and leave string for sewing


Hands

Row 1: 2 ch, 1 ch (2)

Row 2: 1 slst, 1 dc (2)

Now do 1 ch and then do a slst in the same place you did the dc in.

Pull through and leave string for sewing


What I did for the hands was to knot the two strings together and sew the shorter one in the hand so that it’s invisible. After attaching the hands to the Body the loose strings can be cut off and will be forever invisible. Don’t cut the strings before, because they could loosen when sewing the hands to the body.

Pin all the loose parts to the body and then sew them on.


Please be so kind as to not sell the Amigurumis you are making with this pattern. You are free to gift them to other people of course.

Also, please give me credit when you’re uploading pictures of your Cleffa 🙂


I hope your Cleffas will turn out wonderful!

Best regards,
Hannah

Tutorial to the most awesome easter present

Hy guys,

with easter approaching I thought I might do a little tutorial on a super cool easter present. The egg in the tutorial I will give to my pug-loving sister 😀
So let’s get to it:

This slideshow requires JavaScript.

I am super lucky that Kinder seems to have changed the way the egg is wrapped at some point, because it was suuuper easy to take the foil off and put it back on without damaging it. I hope this happened in other countries too =)

So that’s it for today! If you got a question just ask me 😉

Best regards,
Hannah

Amigurumi of the month: February 2016

Hy guys,

I know this is 2 days late. I was helping a friend move and had no internet during that time – so there was no real possibility to post this. However, here it is:

Last month I put much effort in imagining new articles for the shop and tried to focus on the presentation more than I did before. My camera isn’t the best and I don’t really have a spot in my place where I could take a decent photo. So maybe you can imagine what kept me busy in February. But I also tried to crochet a lot of things. You can see (almost) all of my previous amigurumis at my DeviantArt 🙂

But let’s get to the amigurumi that I chose to be my amigurumi of the month: Igglybuff. I think it turned out pretty cute! I am also working on a pattern for it at the moment that I will upload as soon as it is finished 😉

Fluffelluff_Igglybuff

I hope you liked my very own version of Igglybuff and that you stay tuned for the next month 🙂

Best regards,
Hannah